

Bonjour tout le monde !
Today I am giving you a grate idea for a Christmas present, or just a cool present for yourself, that's the option I chose...
A beautiful notebook covered with liberty fabric.

But first let me talk of my little trip in Germany. I have been living there for a year now, and it's the first time that I go out of my city. Shameful I know, but for my defence, I don't know of any French person who has already been on vacation there. Apart from high-school trips... And last year, well, I visited other places :-)

As you can see my trip was beautiful, lots of mediaval and renaissance houses and castels, and lost and lost of sausages!!! this is NOT a cliché, Germans really love theirs wurts, and bear, and wine. Did you know that? Germany produces wine, you can even find viniards inside the walls of small cities, very lovely.
Anyway, now that everybody knows that Germany is beautiful, let's dive in this week post: a gorgeous and inexpensive Liberty notebook for Christmas.
Ah, Liberty... Love those fabrics. Last year during a trip to London I bought a notebook for my mom at the Liberty shop.

But I found that although it was a nice gift it was still a bit expensive, and didn't buy one for myself. What a sad story, I know.

Then, looking at my stash of fabric the other day, I noticed some Liberty remaining from previous projects. The pieces left are really too small to make anything other from them than pockets OR: a splendid notebook! And it's so easy to make!!

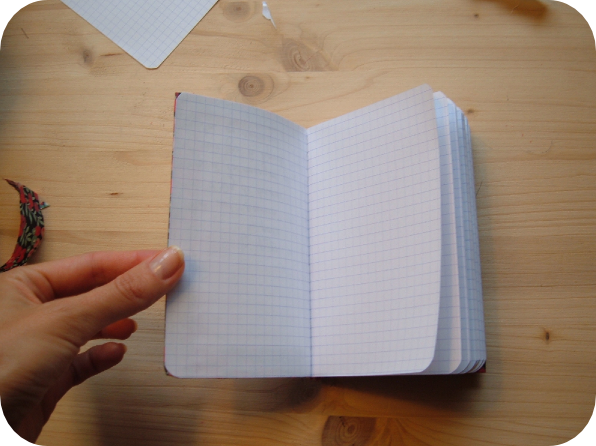
First of all, excuse me for the blurry pictures, sometimes my camera just doesn't feel it, you know: "Blah, tired of taking pictures."
What you need:

a note book
cissors
glue
fabric(not to light so that the pattern of the notebook won't see through)
Cut a piece of fabric large enough to cover your book, adding 1,5 cm around to fold it to the exact size of the book.Iron it like in the blurry picture.

Then glue like a mad person, all over the first outside cover. Do not leave a piece of it without glue, or the fabric will rinkle. Then put some glue on the inside edge and fold the fabric over it.
For the bidding part: cut your fabric up to notebook, on each side of the bidding. fold inside, and glue like a mad person...

And again, glue the other cover, remember that there shouldn't be any wrinkle anywhere. Arrange the corners as you wish. My notebook has round corner, but I made them square. It's just easier.
Now you should have a beautiful on the outside notebook. But your work is not finished. Seamstresses know this: your work has to be as beautiful on the inside as it is on the outside.
So, you have to glue the first page of the notebook to the inside cover, to hide the fabric that you glued on it
In my case I had to cut the first pages who were partially glued (not by me but by the manufacturer) to the cover. And then glue a page over this mess.

See, does it make more sense in picture?
Et voilà!! It's so easy I don't understand why I never made that before!!
You can even add some ribbons. Just place them between the inside cover and the first page, and you know the rest: GLUE LIKE A MAD PERSON!!!

I am so in love with it I want to carry it above my head in the street so that people can worship it! What can I do? I have a thing for Great Britain and Liberty fabrics is just it for me.
I hope I find some time to show what I am currently working on, maybe a photo-shoot in France would make up for the lack of posts this month. What do you think?
Cheers!


